Before we start:
• This tutorial isn’t designed to teach you how to use your computer drawing program. I’m assuming you’re already familiar with your program, and know most of the commands. My intention is to give you some ideas on how to create geometric designs.
• I use Photoshop on a MacIntosh and since it’s most likely you won’t be using the same, I’ve tried to avoid using computer language/commands as far as possible. You’ll need to find the appropriate commands on your own machine and program to carry out the steps.
• I’m also assuming you know how to draw the various shapes I’m using in the design and know about layers, merging layers and so on.
• You can freewheel your design by all means, but as with most of my designs, I’m using a basic sketch as my starting point
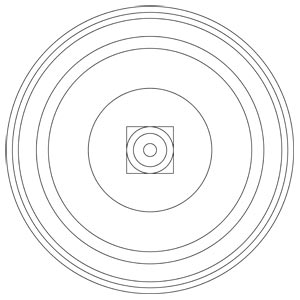 | The very first step in creating any geometric design is to find absolute centre of your drawing canvas. You’ll need to refer to it often in most cases.The best way to do this is to zoom in as far as possible, and put guidelines in at the halfway mark – intersecting at the exact centre point.Once I’ve found centre, I’ve drawn in a series of concentric circles as shown, and a box – all corresponding with my design.
|
 | My design has 16 points, which means the repeating objects must fit within a 22.5 degree arc (16 x 22.5 = 360)It’s therefore best to draw guidelines in as shown, so when I repeat the objects they won’t overlap. Make sure you put these guidelines in on a new layer so you can add or remove them whenever you like. |
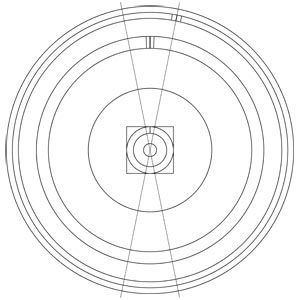 | I make a start by creating a new layer and putting in some lines that repeat 16 times in the design. |
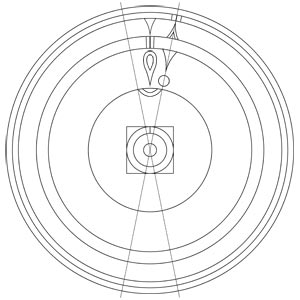 | Then on the same layer, add the other objects that repeat 16 times. |
 | Now I hide the circles & guidelines, copy the layer containing the objects, and rotate it 22.5 degrees.Note the fulcrum (the point from which it rotates) needs to be exact centre for this to work.Now I’ll merge these two layers. |
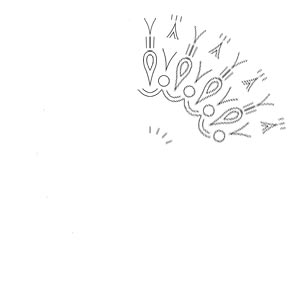 | Again copy this new merged layer, but this time rotate it 45 degrees (again from centre).Merge these two layers. |
 | Now since my design also contains objects that only repeat 4 times , it’s time to draw these objects in.I’ve shown the circles again so I know where these new objects should go. |
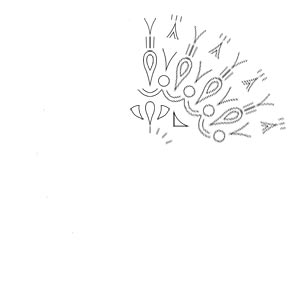 | Now I can hide the circles again, bring back the merged layer with the original objects, and merge that with the new objects.Shown is the new merged layer. |
 | Now I can copy this layer, and rotate it 90 degrees.Merge again and the new layer looks like this. |
 | Copy the layer again & rotate it another 180 degrees.Merge again, and the final layer of objects looks like this. |
 | Add your circles, merge again & voila! the design is complete.I’m sure you’ll agree that the part of the process described here isn’t particularly difficult – it actually takes much longer to create the original sketch, and all the objects within the design accurately.Another great thing about using the computer is that I can colour the design in and add & replace colours at the click of a mouse. You can have a really good idea of the design before you lay a single tile! |

