Before we start
• This tutorial isn’t designed to teach you how to use your computer drawing program. I’m assuming you’re already familiar with your program, and know most of the commands. My intention is to give you some ideas on how to use your photos and sketches to produce mosaic drawings.
• I use Photoshop on a MacIntosh and since chances are you won’t be using the same, I’ve tried to avoid using computer language/commands as far as possible. You’ll need to find the appropriate commands on your own machine and program to carry out the steps.
• I’m also assuming you know how to colour in using pencils and paint buckets, and know about layers, merging layers and so on.
• This example is created using one of my digital photos, but you can of course scan your own drawings or photos into your computer – the principles are all the same.
 | This is the starting picture of a Kookaburra from which I’ll create a mosaic ready design.I considered it suitable because it’s a complete picture (no obstructions) and doesn’t have overly complex colourings. |
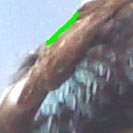 | The first step is to extract the Kookaburra from the rest of the photo.There’s many fancy tools for doing this, but I prefer to outline it manually using a pencil tool.Create a new layer, pick a pencil colour that contrasts well with the rest of the photo, and then zoom in on the photo like in the example. Then carefully outline the figure as shown.
|
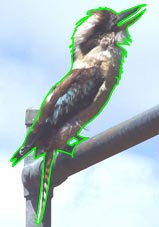 | Finished outline should look something like this. |
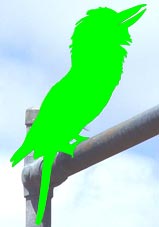 | Then fill the outline in as shown. |
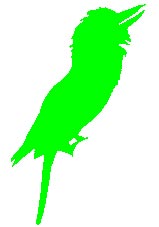 | To remove the background, select the green area, then select the inverse area.Now just delete the background, or fill with white. |
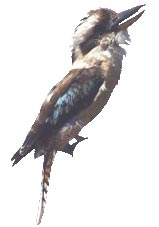 | Deselect your green layer to reveal your isolated Kookaburra. |
 | Create a new layer. Now select and fill the shape with the most predominant colour (in this case beige).Now hide this layer. |
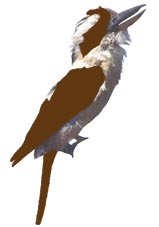 | Create a new layer and paint in the next colour – brown.Hide this layer too. |
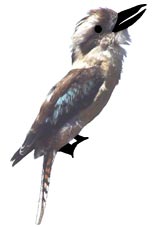 | Create a new layer and paint in the next colour – black.Hide this layer too. |
 | Create a new layer and paint in the next colour – blue. |
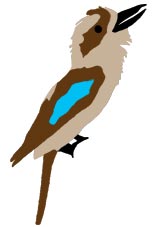 | If you’ve kept your layers in the correct order, you can simply show all the colour layers revealing your simplified design as shown.If not, simply rearrange the order of your layers until it does look like this. |
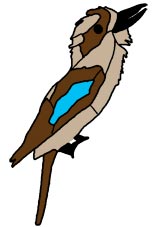 | Next, I like to outline each colour section, so you have a good line drawing to work with.I was able to do this using selection tools & the stroke command, but you could just as easily trace over the design again with the pencil command.Even easier still, you could print the design out & outline it again by hand. Notice how I’ve added extra lines within the colour sections – this indicates how I will cut the tiles to make up the design. |
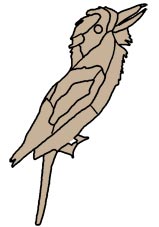 | For printing, I’ll usually remove or mute the colours, so that the black lines stand out extra well.You can now resize & print the design & put it on your mosaic with carbon paper, or, as I’ll usually do, cut it in small pieces & use the pieces as templates to cut out whole pieces of tile (which will fit together beautifully). |
 | Of course you can flip the design, and/or resize it to meet your needs exactly. |
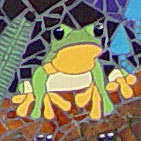
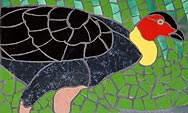
| And finally, heres some of the designs I’ve created using the very same method described above (all part of larger murals) | ||
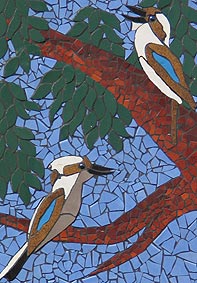 | 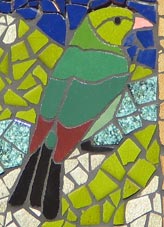 |  |
 |  |  |

